Welcome to Part Two of ReadWrite’s Raspberry Pi VPN server tutorial!
By now, it’s pretty apparent that turning your Raspberry Pi into a Virtual Private Network is an all-evening activity. But as security flaws further compromise our Internet lives, it feels increasingly worth it to have a secure server on your side. That way, you’re free to write emails and transfer data without worrying about what or whom might be intercepting it as it travels from your computer to the Web.
See also: Building A Raspberry Pi VPN Part One: How And Why To Build A Server
If you’ve followed the steps from Part One of this tutorial, you’ve got a fully functional VPN server on your Raspberry Pi. You can use this to connect securely to your home network wherever there’s an unencrypted wireless connection. You can also access shared files and media you keep stored on your home network.
Only, you can’t access those files just yet. We’ve created keys for clients (computers and devices) to use, but we haven’t told the clients where to find the server, how to connect, or which key to use.
If you remember, we created several different client keys for each of the devices we want to grant VPN access. We called them Client1, Client2 and Client3.
It’d be a lot of trouble to generate a new configuration file for each client from scratch, which is why we’ll use an ingenious script written by Eric Jodoin of the SANS institute. Instead of generating a file for each client on our own, this script will do it for us.
Following The Script
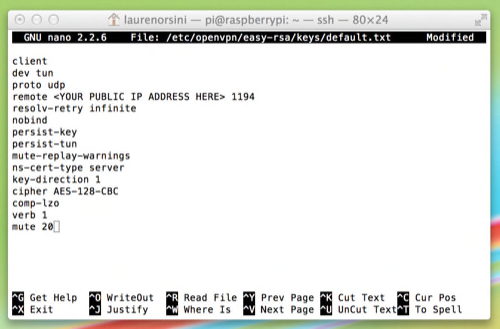
The script will access our default settings to generate files for each client. The first thing we need to do, then, is create a blank text file in which those default settings can be read.
nano /etc/openvpn/easy-rsa/keys/Default.txt
Fill in the blank text file with the following:
client
dev tun
proto udp
remote <YOUR PUBLIC IP ADDRESS HERE> 1194
resolv-retry infinite
nobind
persist-key
persist-tun
mute-replay-warnings
ns-cert-type server
key-direction 1
cipher AES-128-CBC
comp-lzo
verb 1
mute 20
It should look like the screenshot below, except it should show your public IP address. You’ll see that I deleted my own public IP address because that’s private information you shouldn’t be sharing around. On the other hand, local static IP addresses are very similar for everyone. They usually start with “192.168.”
Now, if you don’t have a static public IP address, you need to use a dynamic domain name system (DDNS) service to give yourself a domain name to put in place of the IP address. I recommend using the free service DNS Dynamic, which lets you pick a name of your choice. Then on your Pi, you need to run DDclient to update your DDNS registry automatically. I wrote a full tutorial for how to do this here.
As always, press Control+X to save and exit the nano editor.
See also: 5 Pointers To Supercharge Your Raspberry Pi Projects
Next, we need to create the actual script file. The script will run from a shell file, which is an executable script that usually automates tasks on Linux—including in this case.
nano /etc/openvpn/easy-rsa/keys/MakeOVPN.sh
Here’s the script Jodoin wrote. Copy and paste it into your blank shell file. (Note: This script was slightly off, due to—you guessed it—a copy-paste error. It should work now.) (Double note: NOW it should work.)
You still need to give this script permission to run. First, go to the folder it’s in:
cd /etc/openvpn/easy-rsa/keys/
And then give it root privileges. If you remember from Part One, permissions in Linux are governed by different three-digit numbers. Seven hundred means “owner can read, write, and execute.”
chmod 700 MakeOVPN.sh
Finally, execute the script with:
./MakeOVPN.sh
As the script runs, it’ll ask you to input the names of the existing clients for whom you generated CA keys earlier. Example: “Client1.” Be sure to name only clients that already exist.
If all goes well, you should see this line appear:
Done! Client1.ovpn Successfully Created.
Repeat this step for each existing client.
The last thing to do is connect to your Raspberry Pi so you can download files from it. You need to use a SCP (Secure Copy Protocol) client in order to do this. For Windows, I recommend WinSCP. For Mac, I’ve been using Fugu.
Note: if you cannot get permission to connect to your SCP client, you’ll need to grant yourself read/write access to the folder. Back on the Raspberry Pi, write:
chmod 777 -R /etc/openvpn
Be sure to undo this when you’re done copying files, so others can’t do it! Put the permission back to 600 when you’re done, so only the Pi user can read/write files:
chmod 600 -R /etc/openvpn
Put it into your client and you’re done.
Working With Client Software
Okay, the hard part is over. From here, we need to input the scripts we generated earlier into a Graphical User Interface. For your PC, Android, or iOS mobile device, you can download OpenVPN Connect. There isn’t one for your Mac computer, so I tried both Tunnelblick and Viscosity.
Tunnelblick is free, while Viscosity costs $9 after a free 30-day trial. In either case, let’s walk through how to set up a Mac computer as a client.
In my case, my Mac is my fifth device that I want to connect to the VPN server, so the file I generated with the above script is named client5.ovpn.
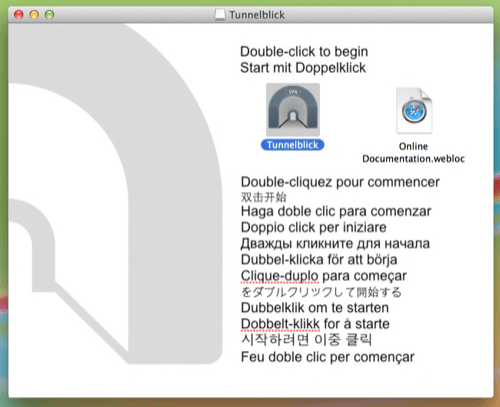
Download the version of Tunnelblick that works for your version of OS X. I’m using Mavericks, so I downloaded the beta. The fact that it popped up in a bunch of languages looked funny to me, but that’s the legitimate download.
Then, it’ll ask if you already have a file you want to use. I did—my Client5.ovpn file.
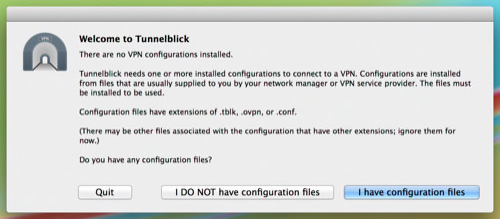
It will then ask if your configuration file is in .ovpn format or .tblk. If you select .ovpn, it’ll walk you through changing the file type to Tunnelblick’s native type. I did this by transferring Client5.ovpn into a folder Tunnelblick provided, and then changing the name of the folder to Client5.tblk.
Now you’re all set to connect. Click the Tunnelblick icon on the top right of your screen and select Client5.
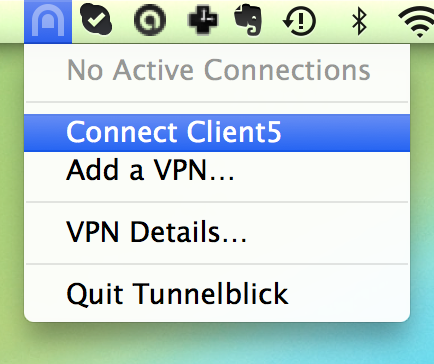
It will ask you for a pass phrase. This is the same pass phrase we generated last tutorial, back when we were generating keys for each client.
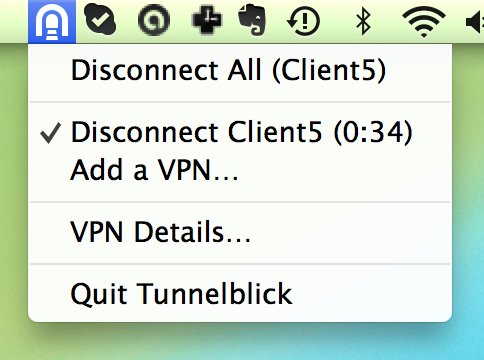
If you get the password right, it’ll look like this!
Try out your new connection at coffee shop, the local library, anywhere there’s unencrypted Wi-Fi. You may still be using the public connection, but over VPN, your data is anything but out in the open.
Illustration and screenshots by ReadWrite