If you follow my standard Twitter account, @LaurenInSpace, you’re missing out on the good stuff. @LaurenInEbooks is a computer-generated stream of garbled tweets that are often far more on point than what I actually have to say.

A friend of mine, who knows about my love of esoteric Internet phenomena, built @LaurenInEbooks as a gift. It’s inspired by @horse_ebooks, a Twitter account so famous for its poorly computer-generated tweets that it got profiled in the New Yorker, which revealed that it had gone from a weird spam effort to sell ebooks into a mysterious art project.
Horse_ebooks is an old joke by now. But it’s not too late for you to get in on this bizarre genre of word art. A computer-generated account which serves as your own personal Twitter bot Frankenstein is always fresh and funny.
Plus, for beginning coders like me, this project is a great way to dip your toe into Python and Ruby while sharpening your Git skills—and at the end, get a hilarious little bot for your troubles.
See also: GitHub For Beginners: Don’t Get Scared, Get Started
Some of my coworkers wanted in join in on the fun, so I decided to buildthemsome Twitter bots, too. However, I found the starter script I chose to use, Heroku Ebooks, significantly difficult to follow. Building on top of it, I decided to create a tutorial anybody can use.
A caveat: I built this tutorial on a Mac using its Terminal app, software which provides direct access to running software programs. I have not tested this tutorial for Windows machines, but if you need help, start with GitHub’s Windows instructions.
It took me three tries to perfect the process. By the third time, building a bot took me only 20 minutes to complete! Here’s how to easily build your own random Twitter bot—and learn a little code at your friends’ expense.
Note: An astute reader has reported that this tutorial won’t work properly if the source’s Twitter account has fewer than 3,600 tweets. So be sure to build a bot that picks on somebody who tweets a lot!
Set Up A Twitter Account

You’re going to need a place for these tweets to go, so build a new Twitter account with a funny name. If you add “ebooks” to the end, @horse_ebooks fans will instantly get the reference, but you can choose any variation you like. In order to verify the account, you’ll need an email address that isn’t already being used by Twitter, so I’d suggest a secondary email you rarely use. I just generated a new email address I’ll probably never check again over at my hosting service, Bluehost, but you can also sign up for a new one on Gmail, Yahoo Mail, or Outlook.com.
This new Twitter account also MUST have a mobile number connected to it. I used Google Voice, since they give you your first number for free. If I needed another I might have used Twilio, which also gives you your first number for free.
If you need to create a lot of accounts, Twilio will cost $1/month, which can add up fast. And I should also note that while Twitter allows you to create parody accounts, “mass account creation” is against the rules. Twitter also has rules on automated accounts which you should follow. So don’t go crazy with your bots.
This is also a good time to make a profile image. For @SelenaEbooks, I inverted the colors on her face to make a bizarro version of her Twitter image. I’m sure she just loves it.
Set Up A Twitter Developer Account
While still logged into your new Twitter account, navigate over to dev.twitter.com. The first thing you want to do is create a new app. For convenience, use the same name as your new account.
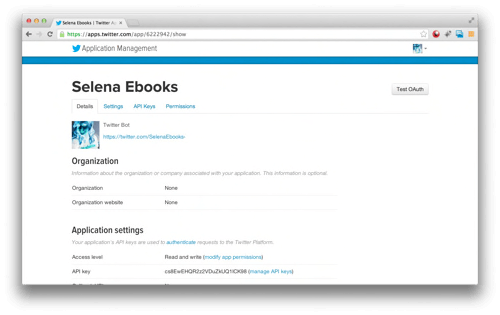
Once you’ve named and created your app, you’re going to immediately want to adjust its permissions to “Read and Write.” In order to post to Twitter from a program, it needs to have a mobile number connected to the account—which is why we needed to create one earlier.
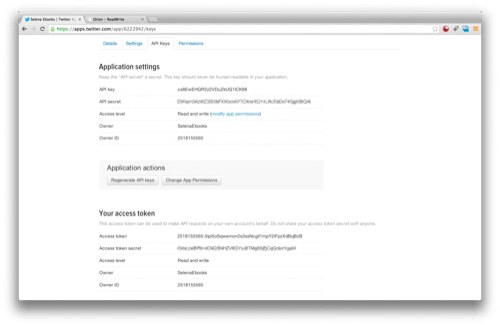
Next, go to the API Keys page and click “Generate my Access Token,” and keep the window open while it works. You’ll need those keys and tokens in just a few minutes.
Clone The GitHub Repository

Whenever you are working on a coding project, you are always standing on the shoulders of giants. In this case, we’re borrowing an open source Ruby and Python script that GitHub user Tom Meagher has saved in a repository.
You need a copy of Tom’s repository on your computer. The easiest way to do this is to hit “Clone In Desktop” or “Download Zip.” Either way, you want to take the resulting folder, which will be called heroku_ebooks, and store it in the very top directory of your computer.
Update Your Settings

Navigate to the heroku_ebooks folder on your computer, and open up local_settings_example.py. In a text editor, copy and paste the entire contents into a new document, which you’ll then save as local_settings.py.
Fill in your Consumer Key, Consumer Secret, Access Token Key, and Access Token Secret in the allotted spaces. If you’re unsure which those are, here’s a hint: they’re in exactly the same order as they appeared on dev.twitter.com.
Here are mine as they appear in order, though blurred out. Don’t ever share secret keys—that’s gotten Amazon Web Services customers in trouble!
When it says to list the account, don’t write out the full Twitter account URL (twitter.com/selenaebooks) or even put an @ in front of the Twitter username (@selenaebooks). Here’s how I did the @SelenaEbooks account:
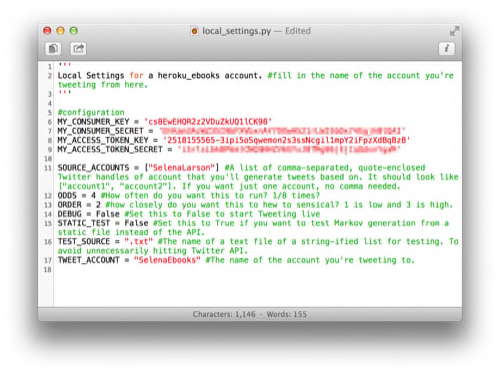
Note that I set both T/F (true/false) variables to FALSE. If the first one isn’t set this way, it won’t be able to write to Twitter.
Sign Up For And Install Heroku

We’re going to create this app by installing a free app-developer program called Heroku. First, go to Heroku.com and sign up for an account. I know you may be reluctant to do this, but you’re going to need to have a “verified” account, and that means inputting your credit card information. I wish Heroku didn’t do it this way, but it’s necessary for later, and I’ve never been charged a cent.
Now that we’re signed up, here’s the problem: Our heroku_ebooks program files are on our computer, not the Web. So we need to use Heroku on our computer. Download Heroku Toolbelt in order to do that.
Once Heroku is installed, go to your command-line window—in Terminal on the Mac, in the Windows command line on Windows machines. We need to build a Heroku app, but we want to make sure it builds in the right place.
cd heroku_ebooks
Once inside, we need to start up Git. For me, this was the most complicated part of the project. I kept getting an error where Git was unable to find my app, unless I typed exactly the following:
git init
git add .
git commit -am "Add all files"
heroku create --stack cedar
git push heroku master
With the first three lines, we’re setting up a fresh initialization of Git in this folder and told it to include and track the documents already located in this folder.
Then, we’re using the “Heroku create” command to build a new app on the cedar stack. Celadon Cedar, or cedar for short, is a deployment environment for Heroku. It lets Heroku access libraries that allow it to understand Python, Ruby, and any other language you want to build apps with.
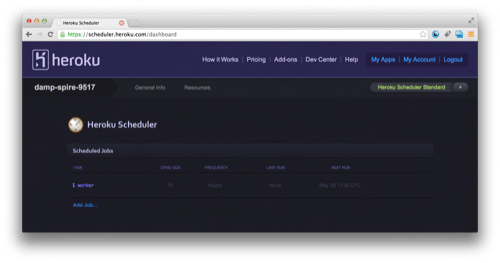
Heroku has a nature-based naming convention, and it’ll randomly assign a name to your app based on that, in this case “damp-spire-9517.” You never have to change the name of the app since it won’t show publicly—it’ll just be how you identify it in your Heroku account.
In this screenshot, I’ve moved on from making fun of my colleague Selena Larson and tackled my boss, Owen Thomas, with @OwenEbooks.
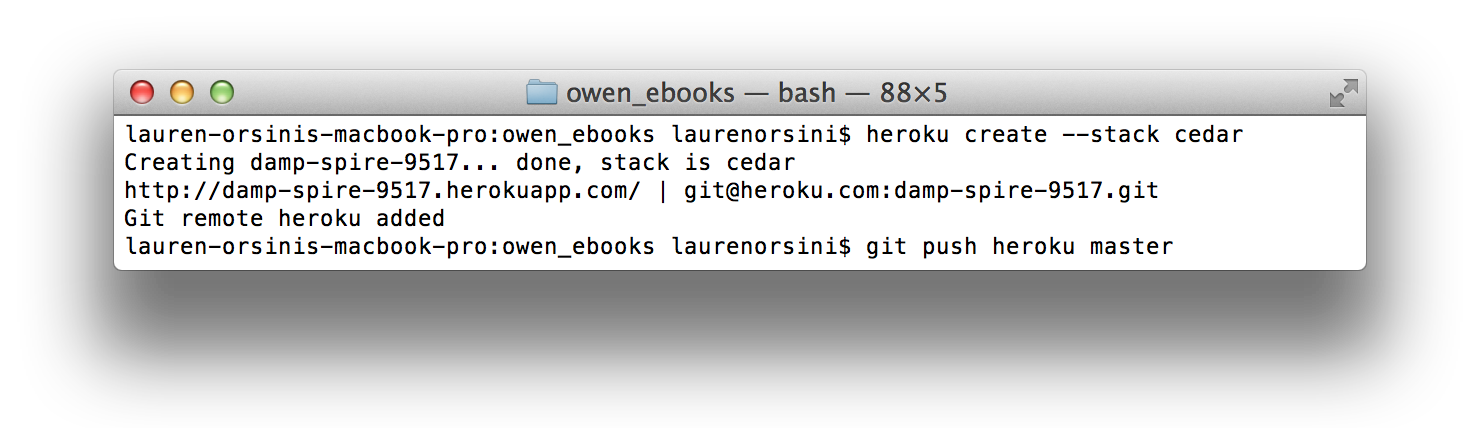
With the final line, we’re pushing out all our heroku_ebooks files, including the local_settings.py file we built, to our Heroku app’s home on the Web. Heroku stores them in its servers and will run the app for us.
Note: if you made a mistake in local_settings.py and need to update it, it’s just like doing any other update in Git. First, change the file, save, and exit. Then, back on the command line:
cd heroku_ebooks
git add local_settings.py
git commit -am “Update local_settings.py”
git push heroku master
You shouldn’t get this error if you’ve done everything the way I said, but the most common error is going to be:
! Push rejected, no Cedar-supported app detected
This means it can’t find a Heroku app in the heroku_ebooks folder. Remove and reinitialize Git with:
rm -rf .git
git init
git add .
Then try once more to create a new Heroku app in the folder.
If it is working, you’ll get this notice instead:
-----> Python app detected
Once it’s done pushing changes to the master branch, you can test to see if it’s working:
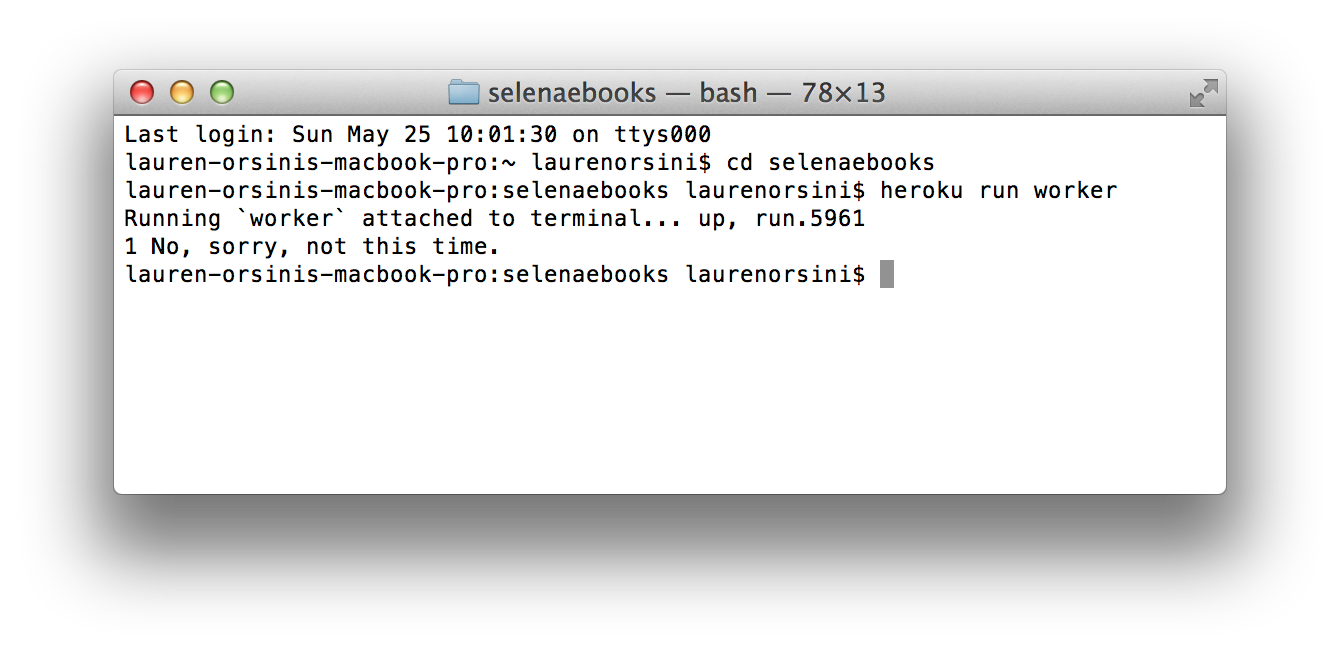
heroku run worker
This will give you one of two responses:
1 No, sorry, not this time.
In this response, “1” could be any number 1 through 7, or, an actual tweet:
If you get an error that the program is unable to write to Twitter, make sure you gave it read and write permission back in dev.twitter.com. That’s an early mistake I made.
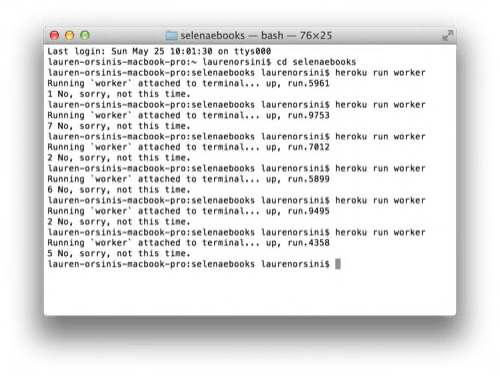
This program works as a random number generator. As a result, it seems like it takes forever to get “heroku run worker” to deliver anything. Ugh. If you get REALLY frustrated, you can raise its chances from 1 in 8 to 1 in 4, etc. on the ODDS line in local_settings.py.
Schedule Tweets For The Future

Once you’ve got your first tweet—a step you really should take to verify everything’s working—you’ll want to schedule “heroku run worker” to run at regular intervals during the day, so you don’t have to manually tweet for it yourself.
Type:
heroku addons:add scheduler:standard
If you didn’t “verify” your Heroku account with a credit card, this command won’t work. Go get that credit card! Otherwise, type this once the scheduler installs:
heroku addons:open scheduler
It’ll take you to a page on Heroku where you can configure the program. Name it “worker,” and set the frequency to “hourly.” Hit save.
This is where the random number generator comes in. To keep the account from spamming Twitter, “heroku run worker” runs once an hour. But instead of tweeting every time, it’s actually rolling a die. Every 8th time or so, it hits gold. As a result, your randomizer accounts should update about three times a day.
Enjoy your new Twitter bot, and be sure to share it with me in the comments!