You’ve probably seen it in movies, even if you haven’t ever called it up on your own computer: a blank screen with a simple text prompt and a cursor, just waiting for you to enter the appropriate arcane commands to do your bidding.
This is the command line. It’s a text-based interface that predates the far more familiar windows, icons and tiles of today’s major computer operating systems, from Windows to Mac OS X to Linux.
See also: GitHub For Beginners: Don’t Get Scared, Get Started
The command line is an extremely powerful tool for accessing basic functions of your computer. For most people, it’s also a confusing, complicated and seemingly irrelevant distraction. It doesn’t have to be.
Computers Under Your Command
Typing text instructions and hitting Return to get a computer to do something sounds like a major step back compared to the swipe-and-tap touch-sensitive interfaces of mobile devices. Even a toddler can use an iPad, right? Yet the command line can save you time and aggravation, if you know when to use it.
If you’re serious about learning to code—or just understanding computer technology—you absolutely need to get to know your command line.
Diving into the command line will teach you a lot about how your computer works and organizes information. You might find that some tasks you perform every day with a mouse are actually faster when you type a command or two instead.
Most important, you’ll be better prepared to learn languages like Python and programs like Git that require some command-line setup. By getting familiar with the command line, you’ll break down barriers that may have kept you from learning to program in the past.
So here’s a quick, basic guide to getting around on the command line. It’s focused on Mac OS X’s Unix-based environment, simply because that’s what I’m familiar with. Linux users probably know the command line well already, although newcomers might also find these tips useful. If you’re running a Chromebook, Google has some helpful instructions for getting to its version of the command line, which is similar to Mac and Linux systems. Windows users, unfortunately, are stuck with a command language derived from MS-DOS that just barely overlaps with Unix, so this guide isn’t going to be much use to you; you might check out this dosprompt.info tutorial.
How To Find Your Way Around
The very first thing you’ll need to do is figure out how to access the command line, which is typically done through a program called a “shell.” On any Mac running OS X, you’ll need to start the Terminal application. You can do this through the Finder (it’s in the Utilities folder under Applications), or just click the magnifying glass in the upper right hand corner of your screen and type “terminal,” then select it from the drop-down.
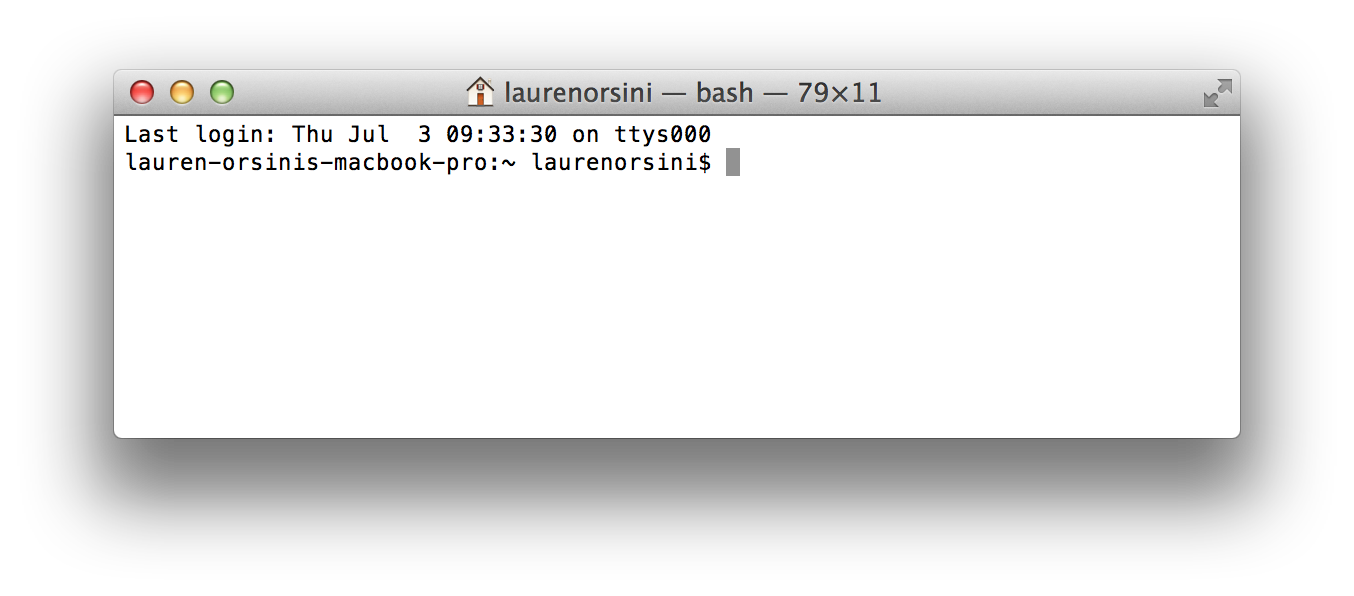
You’re in, but all you see is a blank box with a space to type prompts. This is the command line! Let’s get to know this window a little bit better.
Type pwd, which stands for Print Working Directory. In computer parlance, “printing” something has nothing to do with paper. It really just means spitting it out on the screen. The command should result in the computer returning the directory you are currently working in.
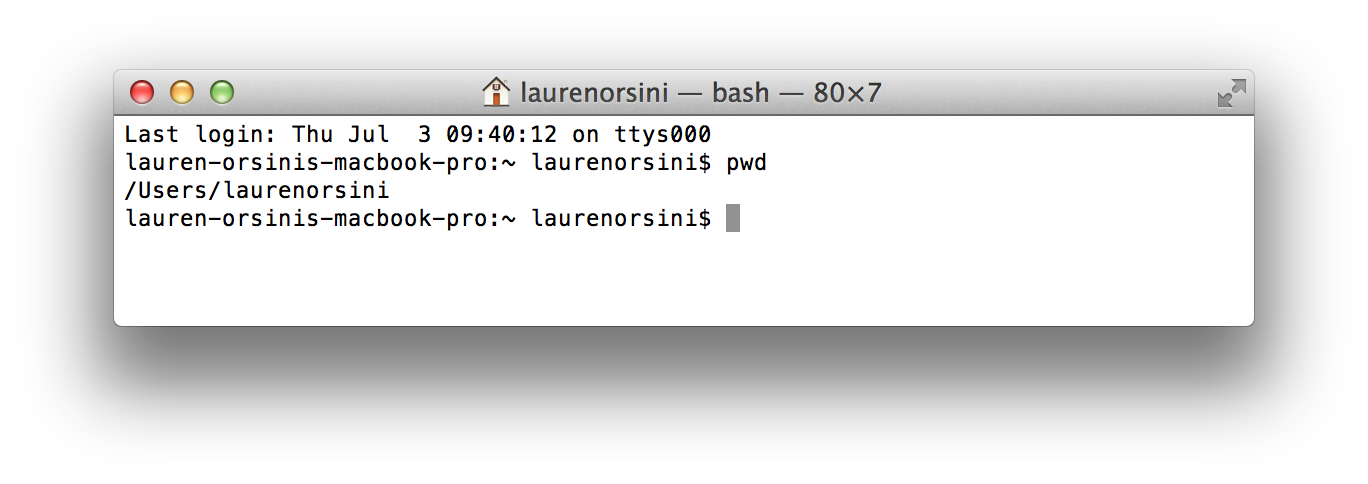
And indeed, /Users/laurenorsini is my home directory. Advanced tip: You can use the tilde symbol (~) as a shortcut for your home directory—it means the same thing as /Users/yourusername. So you can reference your Downloads subdirectory, for instance, as ~/Downloads. (If you look closely at the command prompt above, you’ll see a tilde there. That indicates that I’m in my home directory.)
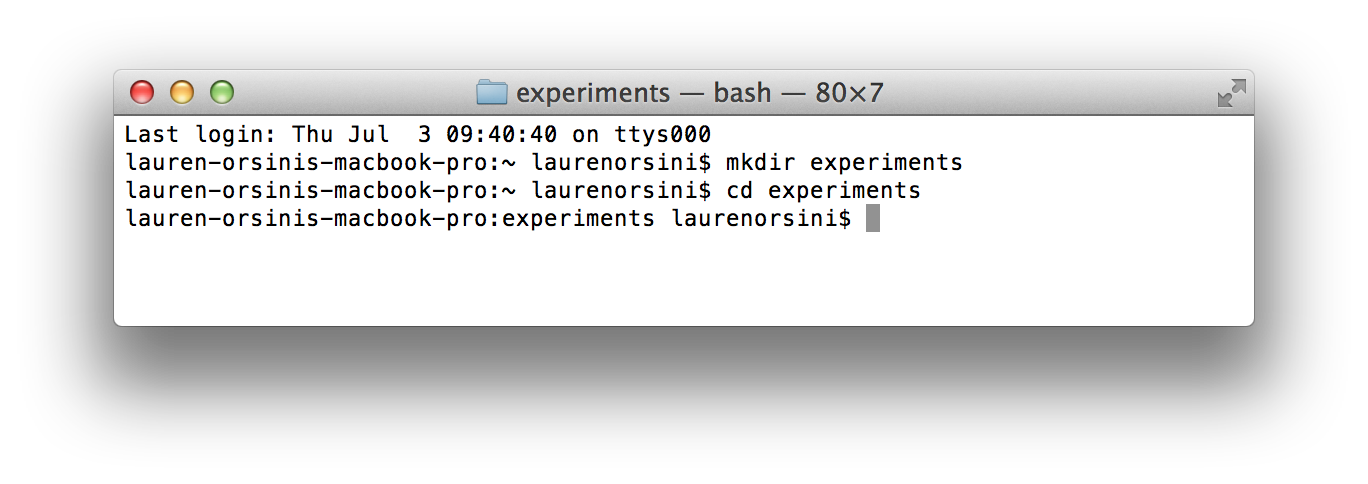
We don’t want to muddy up our main directory with all our command-line experimenting, so let’s make a new directory with the mkdir command. This is the same as creating a new folder on your desktop operating system. Let’s call it “experiments”:

Now we have a new directory. Using the graphic interface, we can visually verify that we actually created a new one. Sure enough, if I open the Finder and go into my home directory—here marked with a little house icon—I now see a folder named “experiments.” I made that on the command line! (The reverse works, too: You can create a folder on your desktop, and see it in the command line. They’re just two different ways of looking at the same system.)

Now I need to change directories and enter the ~/experiments directory with the cd (change directory) command.
I have my command prompt on the default setting, so it automatically shows where my working directory is. But if yours looks different, here’s how to make sure “experiments” is truly your working directory: type pwd again. It should tell you that your working directory is “experiments.”
Getting Filed Away
I create and edit files on the command line every day that I code. It’s faster than using the graphical user interface because I can test out my programs on the command line as soon as I finish editing them. And if I also happen to be pushing things to GitHub at the same time, well, it’s even more convenient.
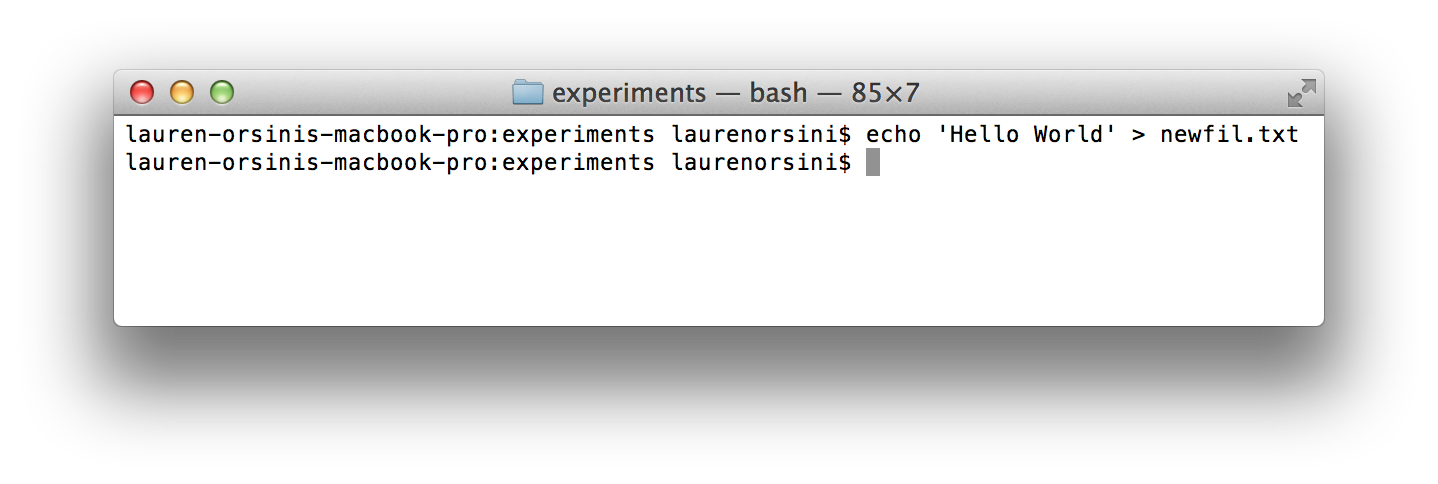
Now you have a new directory (also called a repository or folder) on your computer to mess around with. Let’s start by creating a new file that contains only the words, “Hello World.” There are a lot of ways to do this; here I’m using the echo command.
Oh no! I spelled “newfile” incorrectly. That happens. Let’s fix it in two steps. First, I’ll create a new file with the correct spelling…
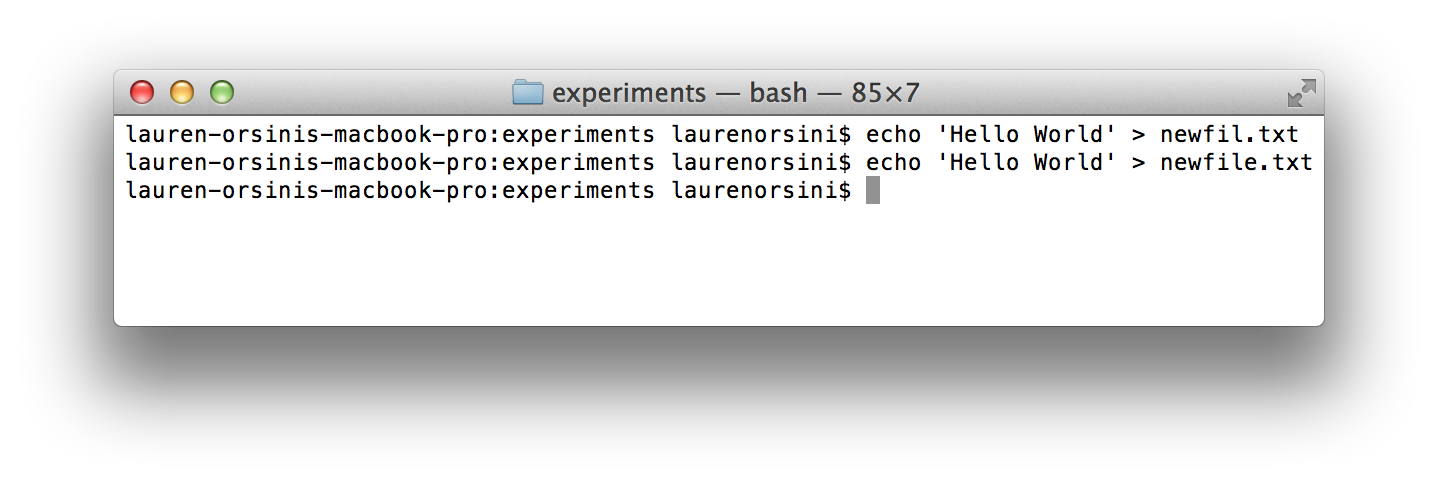
And then, I’ll use the mv (move) command to replace my old, misspelled file with my new file. This always takes the form “mv oldfile newfile.”

A note about mv: like many commands, it’s a deceptively powerful one. When we’re “moving” newfil.txt into newfile.txt, what we’re actually doing is completely overwriting the first file and replacing it with the second. So the text I wrote into newfil.txt is gone forever, replaced by what I wrote into newfile.txt.
To prove that I only have one file in my directory, I can use ls , the list command, to get a list of all the files in this directory.

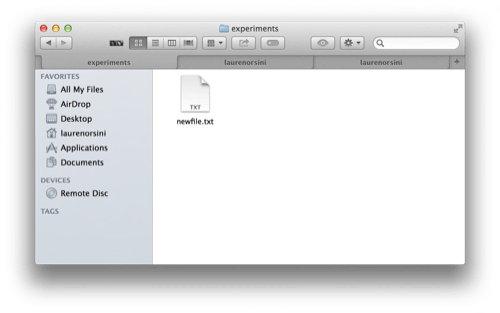
See? Just the one. And if I look inside the folder using my computer’s graphical user interface, I can see the file there, too.
But it’s just a blank text file. Let’s put something inside it using a text editor. On the command line, I tend to use the nano editor since it’s simple and it works on just about every type of computer.

This should immediately bring up a new editing screen right inside your command line window. The basic commands are all laid out for you.
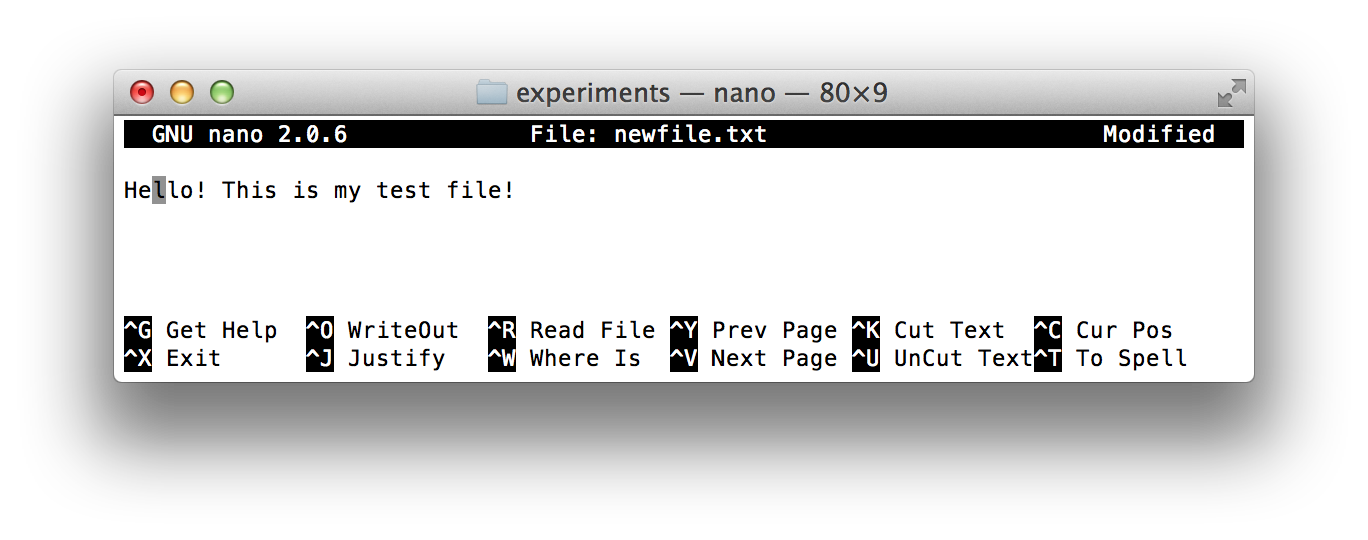
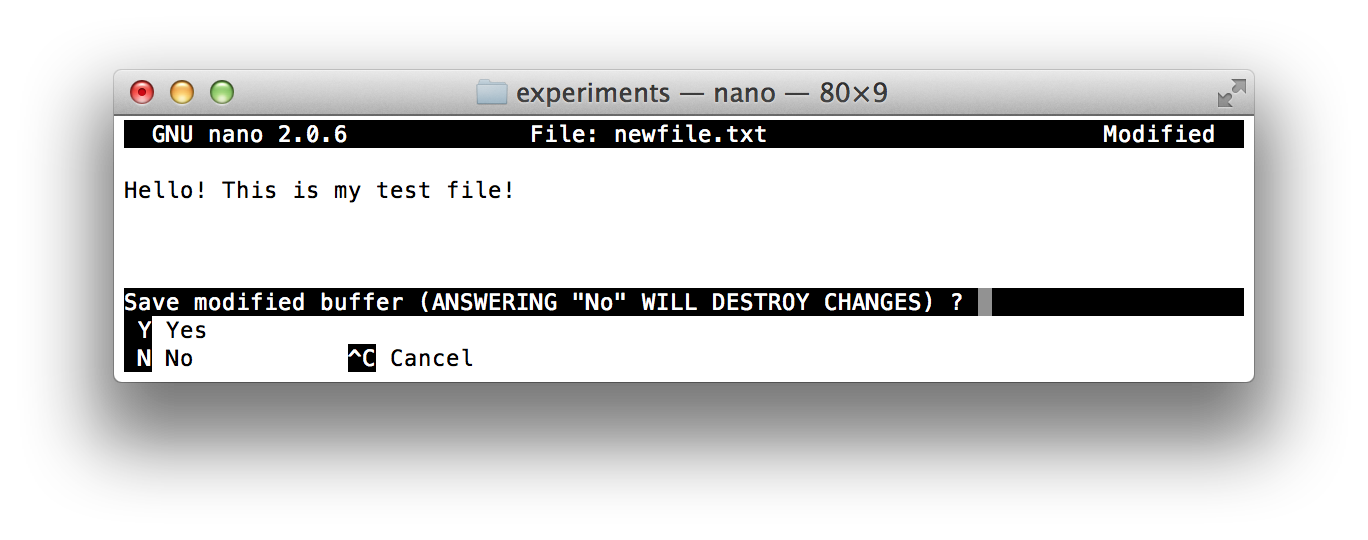
Write what you want, and then exit with CTRL + X. If it asks you to save and you’d like to, type “Y.”
As you’ve probably guessed by now, it’s possible to also see these changes by using the operating system and navigating to newfile.txt with your mouse. Here you can open and edit the file you’ve created in any text editor of your choice.
If you want to delete the file forever, do that with the rm (remove) command:

Keep in mind that the rm command is very powerful! A common trick on hacker forums is to convince a command-line newbie to type rm -rf / so she ends up deleting her whole computer. The “/” means the very top-level directory of your computer—and everything underneath it. NEVER type that command!
Further Reading
This is just the beginning of the endless possibilities of the command line. You can use this tool to control every aspect of your computer, which is what makes it as dangerous as it is powerful. Make sure to always read up on new command-line prompts before you use them, and never blindly input a prompt that a stranger suggests to you online.
I’ve outlined the commands I use every day so I can code, but there are a lot more reasons to master the command line than that. If you’re looking for a more thorough overview, you might want to try:
The Command Line Crash Course. A free, extended course that covers the basics of command line usage.
A Command Line Primer For Beginners. Lifehacker’s collection of helpful commands for first time users.
Introduction to the Mac OS X Command Line. Online-education site Treehouse covers the very basics in extreme detail.
Now that you’ve finished reading, you’re better prepared for any code tutorial I’ve written in the past, since it’s impossible to do any of them without typing in some commands. If you’re ready to go, I suggest you check out ReadWrite’s Git tutorial, which utilizes the command line to introduce you to collaborative coding. Happy computing!
Lead photo by Jason Scott; all other screenshots by Lauren Orsini for ReadWrite


