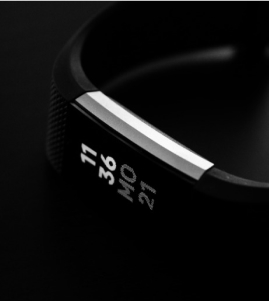
A few weeks ago, Samsung unveiled the Gear Fit2 Pro at IFA Berlin 2017. Being a new device, potential users might need some help in surfing through its potential benefits. However, those who have had its predecessor, Gear Fit2 will find it easier than newbies to the series. This is a Gear Fit2 Pro wearable tutorial to help you use this device with ease.
After unboxing your device, put on your Gear Fit2 Pro and then go to the “Samsung Gear” app, which should be installed on your mobile device, and proceed with pairing both devices. Now, click on “next” on your Gear Fit2 Pro home screen and proceed to click on “start the journey” on your smartphone. You will then be asked to select your device and you will choose “Gear Fit2 / Fit2 Pro”. A passkey will be given and you have to make sure that the passkey on both your phone and the Gear Fit2 Pro are the same. You then click on “ok” to start pairing.
The next display will be “terms and conditions” and you have to check all the boxes and click on “next” to continue. Then manage notifications depending on your preference and click on “next” to proceed. At this point, you are all set to enjoy your Gear Fit2 Pro.
To start swimming, scroll to the left till you find “start running”, click on it and also click on “activity type”. You then scroll in the list searching for “swimming”. Once found, click on it and set your accurate pool length (the default pool length on the Fit2 Pro is 25m). After setting the pool length, you click on “start” at the top of the screen. You will be required to turn on “water lock mode” so that you can swim without touching anything on the screen by mistake. After turning on the water lock mode, the Gear Fit2 Pro gives you a countdown from 3 to 1 and you are set to go.
After swimming, you have to turn off the water lock mode to check your data. Simply tap the smaller button on the right of the Gear Fit2 Pro and click “finish” on the screen to turn off the water lock mode. You can now see your results which includes the length covered, the time spent, the strokes, best SWOLF (swim golf), heart rate details etc.
For continuous heart rate monitoring, set “Auto HR” to “Always” so that your heart rate will be measured irrespective of the activity you are performing. Scroll to the left from the home screen until you find the heart rate symbol, tap on the screen and scroll down to “Auto HR”, click on it after which you check “Always” and click “OK” to finish. With this, whether you are cycling, running, walking, or resting, your heart rate function is been recorded and the results can be checked anytime. Check out the video below to see it in action.
Video
https://www.youtube.com/watch?v=dDXr2rcR5lU
