We have covered various aspects of 3D printing here at Readwrite over the last few months, looking mainly at how to use different 3D printers for different projects to create the ultimate games room. We have big plans for what we are going to do over the coming months, but this time around we are going to 3D practical items that will enhance our gaming experience on the Meta Quest 3.
The Quest 3 is a great piece of hardware but some corners have been cut to keep the price down. 3D printing and a bit of knowledge can help fix that, and we can also save ourselves a decent amount of money on some cool gaming accessories for it as well.
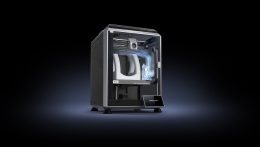
However, the Quest 3 can be quite an active device and 3D prints aren’t always known for their ability to stand up to much abuse. So for this feature, we are going to take Creality’s new flagship K1C printer, an enclosed Core X-Y machine that is capable of printing carbon-fiber-infused filament for extra strength to make some stuff that should last the test of time.
How to print Carbon Fiber filament on the K1C
The great thing about the new Creality machine is that you can print carbon-fiber, and lots of other tough-to-print filaments with it literally out of the box. The machine takes very little work on your part – simply remove the packing materials and the three screws that secure the bed for transport, and you can hook up the filament of your choice and get cracking.
I have never printed with Carbon Fiber before so I was a little wary about just letting rip with a roll so I did a few test prints first using normal PLA, then rainbow silk to see what would happen. I had read a few comments online about people having problems with bed adhesion and having to use glue sticks but I have not, with any filament I have thrown at it had a single failed print, and I have printed some pretty complex shapes.
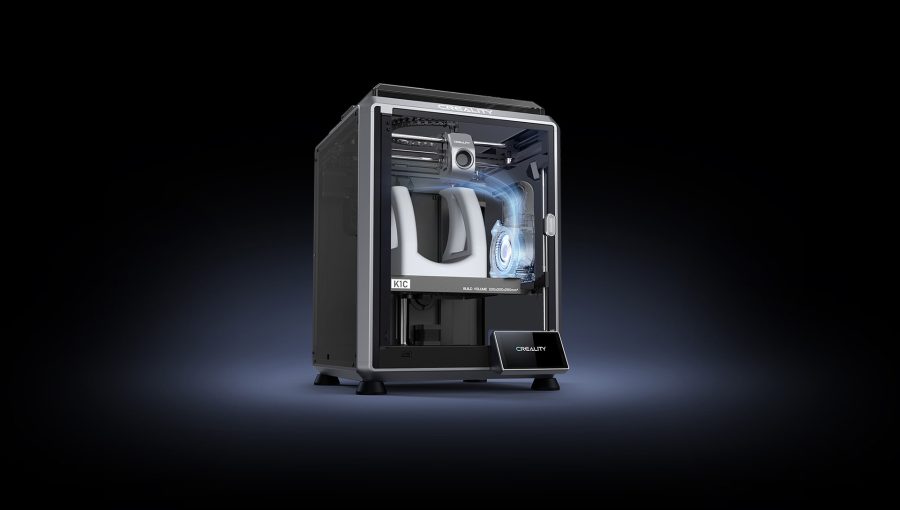
The Creality K1C is perfect for printing filaments infused with other materials such as CF because of its enclosure and its quick swap tri-metal nozzles made from a combo of copper, titanium, and hardened steel.
Your average copper nozzle does not like printing with tough filaments so you need the hardened steel tip in order for it to survive. If you do find you need to change it out, the quick swap mechanism, akin to Bambu’s quick swap on the Bambu Lab A1 makes that possess much less painful than it used to be, it’s not quite as simple but nor is it a chore.
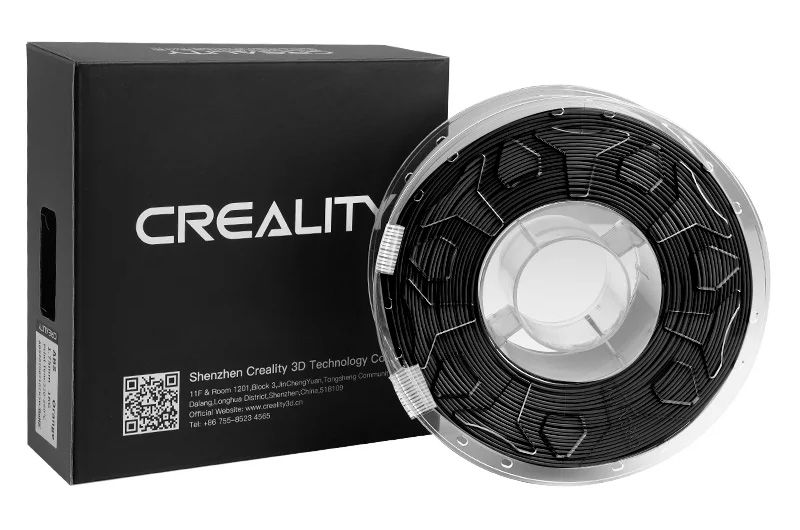
And that, with an appropriate filament setting in your slicer of choice – I used Orcaslicer which now has a KlC profile, and filament profiles for all manner of filaments including the Creality PLA-CF I am using here, did the job perfectly.
3D printing Quest 3 accessories in carbon fiber on the K1C
I could have printed all of these items in PLA, but I wanted them to be much more durable so I didn’t end up printing them time and time again. Also, since starting printing with CF filament on the K1C I have come to love the smooth look of it. The prints come out beautifully and it may well become my day-to-day go-to filament.
I have had some stringing even though the filament was fresh out of the pack so made use of the new Creality Space Pi filament dryer and dried it out for around 15 hours to get better results. The dryer is suitably futuristic looking and sits well beside the K1C, which is definitely one of my favourite-looking printers to date.
Now, on to the models we used.
Quest 3 cable clips
I wanted to start with something simple for my Quest, but also something where strength would be important as it is a small part. I replaced my Quest 3 head strap with one from BoboVR that has an external battery. It’s great but the wire flaps around from the external batter to the Quest 3’s charging port.
I found a set of clips specifically for this head strap on Thingiverse and set them printing. Because it’s such a small print, 51 minutes later the K1C had produced a thing (well two things) of nerd beauty. I’d been impressed with the K1C printing PLA but this was so smooth and lovely, with just enough texture to it to feel like I had bought it myself, rather than make it spring out of nothing by my own hand.
Fitting the clip was a different matter however as it was just too tight to fit on the BoboVR had strap and trying to force the cable into it forced the clip part to snap and fly off. I am putting all of this down to a bad model and will be revisiting it and designing one myself next time wth a little more give. I have since printed clips for other things in the same filament with a problem.
Quest 3 gun stock
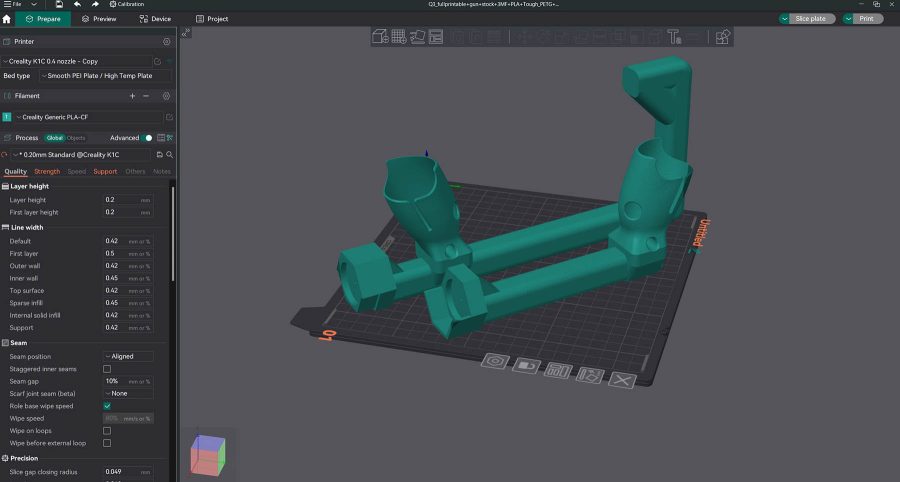
Next up I wanted a sturdy gun stock so playing games such as Contractors Showdown and Into the Radius. I wanted to print one that I could entirely make from Carbon Fiber filament and stick together with glue. I wasn’t looking to buy any steel rods or masses of M3 bolts, so this model on Makerworld from Pab1o90 looked perfect for the job.
It comes in two parts on the same plate but I ran into a problem with the rear end. The K1C’s ever so slightly smaller build volume of 220 x 220 x 250mm than the A1’s 256 x 256 x 256 mm, or the other printer I am using at the moment the Qidi Q1 Pro’s 245 x 245 x 245 means that the model was millimeters too long to print. I tried to compensate by scaling down the X axis by 3% which allowed me to fit on and print it think I was a genius, as a slightly shorter stock would not matter. However, the hidden flaw in that plan was it also shrunk down the holder for the controller by 3% that is mounted on it so when I came to ram my Quest 3 controller in it, it cracked. It still works but it’s annoying.
Again the look of both pieces is majestic and the K1C does a great job of making a lovely smooth print. It’s just a shame about the smaller build volume in this case.
Quest 3 Beat Saber handles
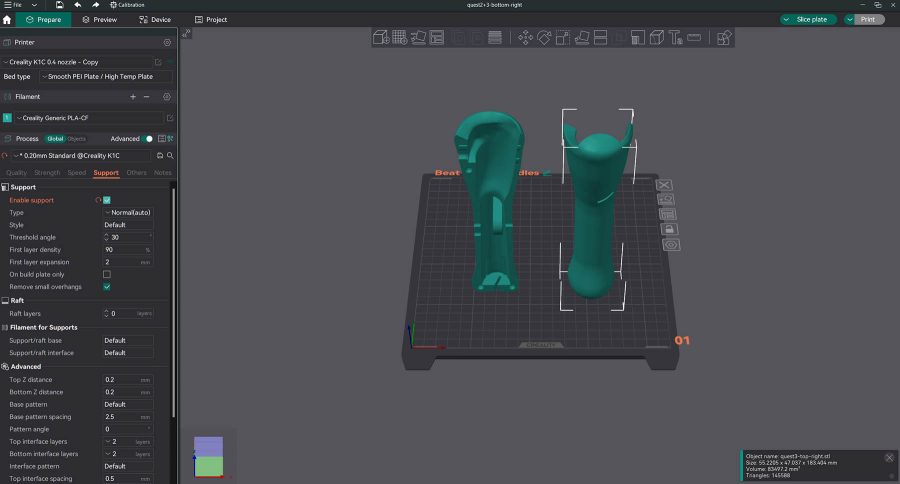
If you have played VR chances are you have played Beat Saber, the seminal rhythm/lightsaber game. I found, again on Thingiverse some handles for the Quest 3 from Nelmo for Beat Saber (and you can use them for golf games too) that extend the Quest 3’s controllers and make them feel more like you are waving a saber around.
Coming as a two-part print with a few connecting thingamabobs again, these printed out really nicely an really look the part in carbon fiber filament. I love the look the K1C gets here and the handles are a solid addition to my Quest accessories, and I didn’t have to buy them on Amazon.
What else can you print on the K1C?
We have only really touched on carbon fiber filaments in this part but the machine is capable of a whole lot more. Because of its enclosure and great nozzle, you can easily print TPU if you want to print rubber-like grips for your controller, or even a protective cover for the unit itself.
The machine runs Klipper (of sorts), it’s a Creality locked-down version, but to its massive credit Creality allows you to easily root it and install Fluidd or Mainsaill on it at the same time and you can therefore have access to all the Klipper tweaks you know and love.
If you are a beginner you don’t need to bother with that as the Creality Cloud stuff it comes with it more than enough to familiarize yourself with at first. Installing the app on your phone means you can check the status of your print from anywhere in the world and the built-in AI camera will attempt to halt the print for you if it detects any printing anomalies.
So, is the K1C the perfect printer for carbon fiber printing?
The K1C is a great consumer printer without a doubt. Creality has done a great job improving the original K1. It’s also my favorite looking 3D printer, in part because it is so compact, but it is so compact because the build plate is missing that extra few millimeters.
The website says you can be printing withing three minutes or removing it from the box. That may be a stretch but the setup is crazy simple. Even if I think back to printers I was playing with six months ago we are getting pretty close to anybody being able to just buy a printer and get cracking now. The Creality K1C is a consumer product, not a hobbyist one.
If you need a printer that isn’t just a regular bed slinger you will probably have looked at the Bambu premium line, this is definitely Creality’s attempt to capture that market with this cheaper offering, and it’s a good option that’s for sure.
If you get the bundle with the filament dryer as well you can pretty much try and print all but the most exotic of filaments, but in truth, unless you are running a print farm you can stick to the main ones. Carbon Fiber is great for pieces that need a little more than PLA, especially if they are going to face heavy wear or be needed outdoors, or even if you just want something that looks a bit less like it was 3D printed.
There are a few issues that come with the machine that you can quickly 3D print your way out of. The common filament spool holder on the back is annoying, but Creality provides a model on the USB drive for a spool holder that attaches to the side of the machine. This could be included really but there is still something nice about printing your own solutions.
The lid is the other sticking point, literally. It’s not quite tall enough to stop the Bowden tube from rubbing on it. As ever, makers elsewhere have solved the issue by providing models for a riser to lift it up for you, but again, you need to know this, and if you are new to the hobby…
I think Creality is aware this is something that needs fixing, they even provide a stretch of protective tape for you to stick inside the lid to stop it from rubbing and marking. Hardly elegant but I think this is a stopgap until the problem goes away, probably in the next model to be released.
Overall, whatever you are printing, be it more models for your games room or gaming accessories for your setup – the Creality K1C is a simple solution that you will not struggle with.
3D printing things you are going to use in your gaming setup is always more fun than just buying them and the Creality K1C allows you to get started doing that with the absolute minimum of fuss.