3D printing is one of my main hobbies and interests outside of gaming here at Readwrite. I have literally machines everywhere from different manufacturers, all serving different purposes. Yet the Moose from 3DMakerpro is the first 3D scanner I have played with so I am couching this review from that standpoint. I am not going to tell you whether you can get perfect replica scans of engineering parts with it – you may be able to, or you may not. What I am going to look at is picking this up as a hobbyist, how you can incorporate it into your home maker space, what you can scan and do with it, and most importantly, whether will you be pleased you bought it.
The first thing any fool like me is going to do is “Ooh I want to scan my face” so let’s set that as an initial goal.
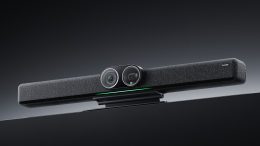
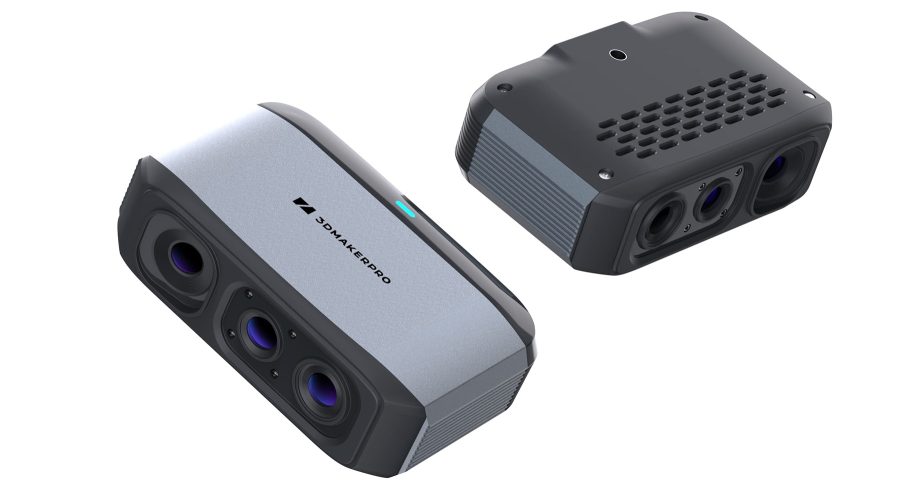
Unpacking the Moose from its hard carry case reveals a camera, the necessary wires, a turntable, and a turntable platter with markings that the scanner can read as it rotates letting it absorb the data. The turntable comes with a short, white USB cable which is really cheap compared to the rest of the stuff in the case which feels premium. I replaced it with my own, longer USB cable and plugged it into my PC to power it and it began to spin.
The Moose itself has its own USB cable as well as a power supply that needs plugging into an outlet. My Moose came with zero instructions, just a piece of paper showing how to connect it and a QR code. To be fair I didn’t bother scanning it, found the software on the website, and installed it.
Once installed I connected the camera and it went through a process of assigning it to a 3DMakerpro account I had to make. I don’t really like having to do things like this. I don’t see why, if you own the camera you can’t use it without attaching it to an account. It makes reselling more of a faff as it is tied to you. It’s a minor point but I could definitely live without it.
Still not having a clue what I was doing I watched a YouTube video from somebody who had got a Moose before mine arrived, Right, all seemed simple enough so I put something basic on the platter to test, a ping pong ball. No sharp edges but it was white which I thought might be a challenge.
Starting a scan in the software is simple enough and blue flashing lights shot out from the camera pointing at the turntable but it wasn’t picking up the ball. I think I probably didn’t have the camera far enough away or something but it was a little frustrating.
I am not going to bang on about early issues I had because they were undoubtedly user errors and me not acting on the RTFM (‘read the f***ing manual’) instruction of time eternal.
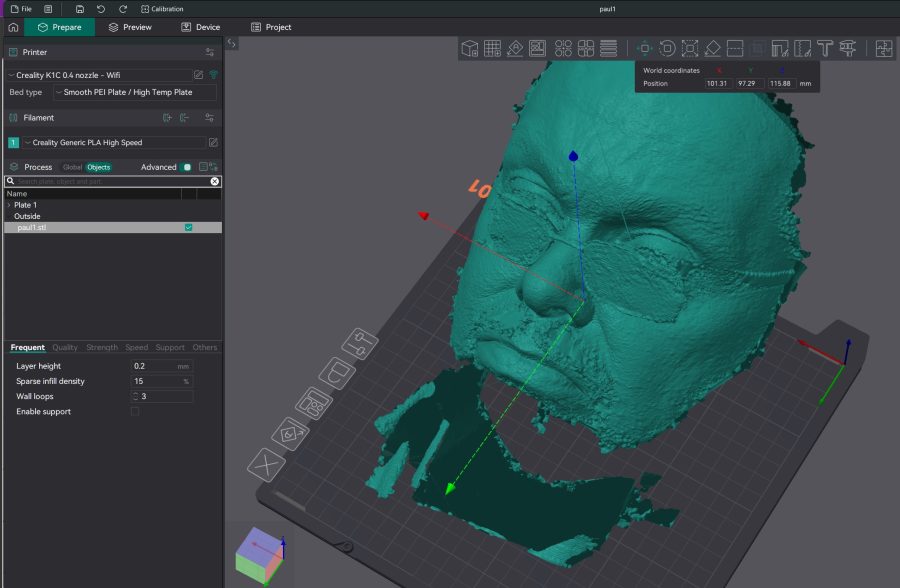
I left things, frustrated, and came back it an hour later and removed the turntable from my equation. Now I am going to scan my face which was not going to go on the turntable anyway. I started a scan and pointed it at me and looked at the screen and to my surprise I could see scan data of my not inconsiderable head appearing on the screen. I moved the scanner around to capture me from other angles and worked out the distance the camera needed to be to get the best data. You get a moving graph in the software so you can see when you are at the optimum spot. It’s a little awkward scanning your own head, trying not to move, looking at your monitor at the same time, and moving the camera but I managed it in the main and what was in front of me on the screen was, well definitely my face. I had left my glasses on which was prob a mistake but was keen to see what I could do with the new 3D mesh of my face.
The software allows you to clean up your scan, merge multiple scans and, if you are using the turntable remove the platter from the data.
It’s not overly intuitive how you do some of this, maybe it is if you have been 3D scanning things for years, but I had to go back to YouTube and even then occasionally found it easier to bodge things in the slicer before printing.
Also, note to the devs, finding how to export your model took me longer than it should, and I struggled a bit with the UI as the Process button is inexplicably tiny compared to the other sections and not next to them,. Once I located what I needed to press to get to the export settings I exported my facial features to an .STL and brought it into OrcaSlicer.
As you can see the scan is not perfect even if my face is but this is entirely down to me not really knowing what I was doing and not doing a very good job of it as well. The fact that the Moose managed to do what it did with me as a hindrance is a good indicator of how good this tool could be in the right hands.
I cleaned up the scan a little bit in Orca and set it printing. As much as I wanted to reproduce my mush life-size and present it to my wife for her birthday, I went for a smaller option and it came out so, so well when printed on my Creality K1C in a sparkly, grey PLA.

Yes, the right side of the glasses didn’t work, but again that is down to the data I gave it. What amazed me though is that I had captured all behind my glasses unknowingly while scanning, and once I had removed the support I could see my eyes behind the lens and everything. The Moose even dealt well with my facial hair. I know if I went back and did it again with more care and attention I could get a much higher quality scan, but for a first effort out of the box, I was pretty amazed by what I was holding in my hand.
Now I was on the hunt for something else to scan that would push the Moose with even more detail than my face. I also wanted to go back and fix my earlier mess with the turntable.
I have a shelf full of old retro toys I have had since I was a kid and thought that re-creating a model of a 1980s A-Team figurine of Murdock would be the ideal test.
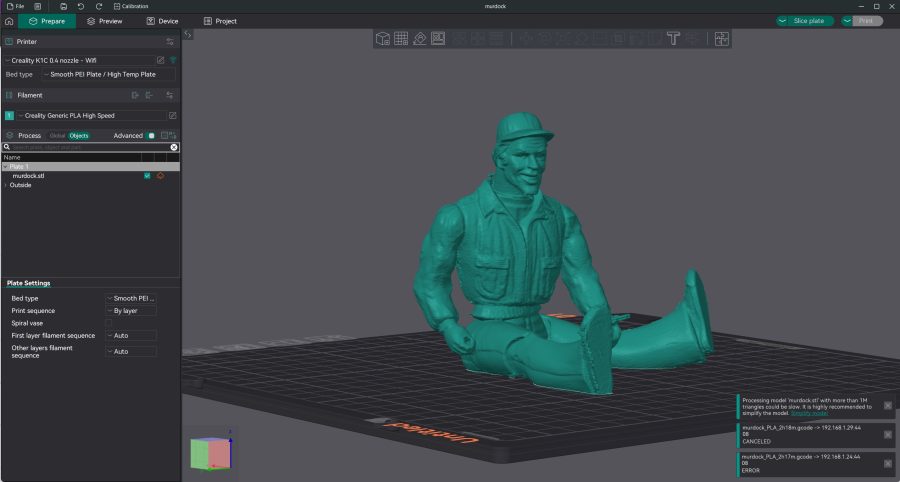
The original model is articulated so I sat him down on the turntable, lined up the Moose, and set it to scan, capturing a couple of full rotations. I then did a quick hand scan from above so I could capture the figure’s head and merged them both in the software.
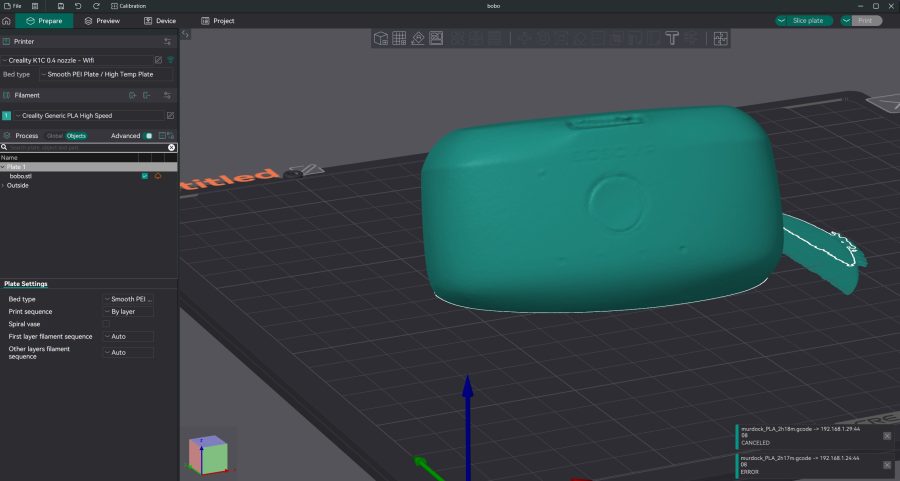
I then spent a minute trying to remember how to export again but once I found it, exported the.STL, imported into OrcaSlicer, and set the K1C to work again, this time in Creality’s own Hyper PLA in white, which is one of my favorite filaments at the moment.
I could see from the scan in the slicer the model should turn out well but again, I was so, so pleased with the result. The Moose captured so much detail in Murdock’s shirt and pants, it’s just really very good indeed. As you can see from the image the dimensions are perfect and I reckon I could paint him up and get a very similar look.
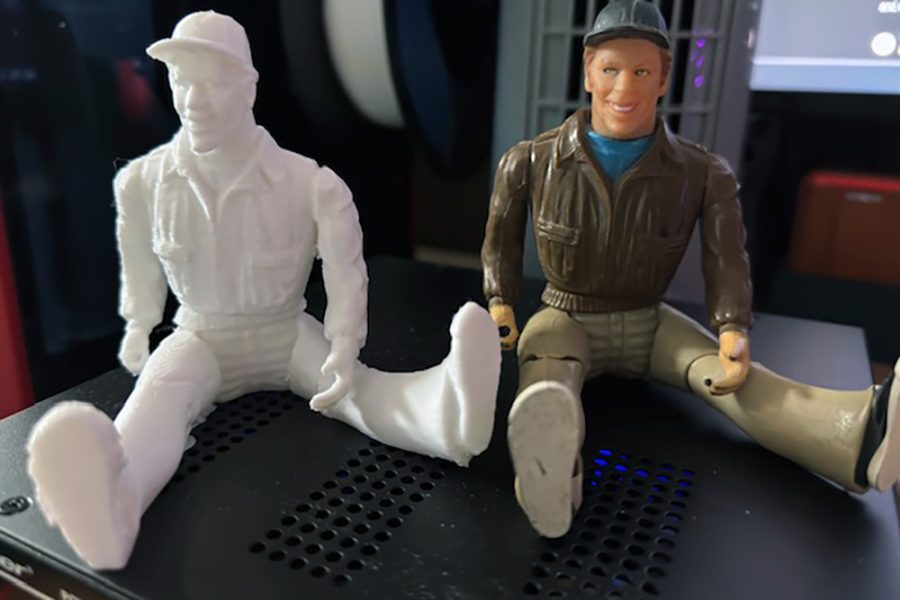
The thing once again to bear in mind is that was just my second scan, and again it was just down and dirty. I think I could get it near perfect with a little more time and effort, but deadline calls.
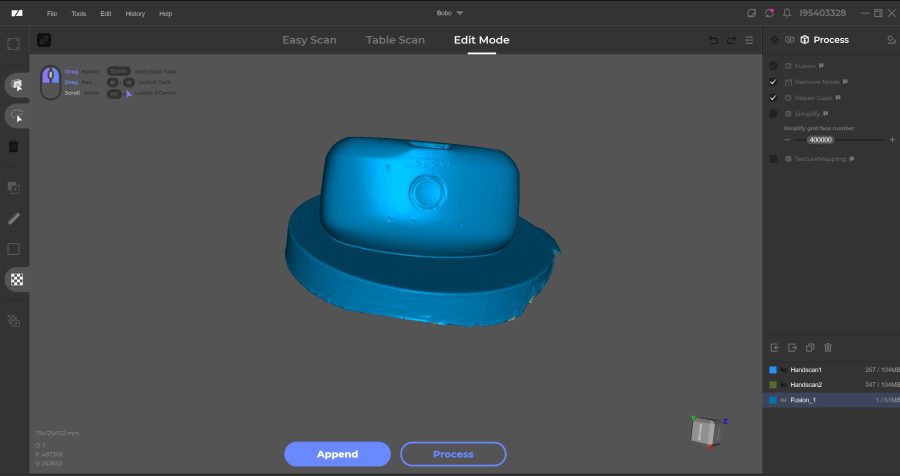
Finally, something practical. I grabbed a Quest 3 BoboVR battery – something which you could technically want to build a case or storage solution for so a prototype battery may come in useful. This is a very smooth object and you can see from the scan the Moose coped well with the smooth edges and produced an.STL that you could easily use for measurements.
Conclusion
I really like the Moose scanner from 3DMakerpro. It’s a lot of fun to use and the novelty of being able to take a 40-year-old toy, scan it, and make a copy of it is not lost on my inner nerd. The scanning software is by no means janky, I haven’t had a crash on anything, but user-friendliness could probably be improved, as could including a quick start guide out of the box.
The Moose comes in two different versions, this one we used and the Moose Lite which offers fewer features, won’t be as precise, and obviously, costs much less. Coming in at $699 the Moose is not an impulse purchase, but it is certainly affordable when compared with other portable 3D scanners. The prices of units such as these are coming down but there are still many scanners in the multi-thousands price range so in terms of an easy entry to the 3D scanning gig, this is as good as it gets right now.
Is it worth it? I’m no engineer and would only ever use a 3D scanner for personal uses – I like the idea of scanning my family’s faces and maybe even the cat and dog and making 3D-printed wall art. I couldn’t do that easily without the Moose. Now I can. Am I likely to use it to make a replacement cover for the charging point on my car, probably not, but you could, and you might.
This is remarkable technology. It’s not in its infancy but it undergoing a change as it comes more into the mainstream. Yes, you could download an app to your smartphone and get an approximation but the Moose is the real deal. 3DMakerpro is to be commended for what they have released here.
There are elements of the package that could be improved but these are auxiliary to the scanner itself. The turntable feels cheap compared to the scanner itself and I quickly swapped the tripod for a handheld Manfrotto one, but they come included at least and get you started.
I wish there was some way to easily take it outside and 3D scan the world around me without a laptop and restrictive length of USB cable – there is an add-on to connect it to your smartphone but how well that works I couldn’t tell you, but if it works well this would be an amazing educational tool as well for scanning things such as fossils while you are out and about at the beach.
But these are all positive wishful thinking addons. For my first foray into the world of 3D scanning, the Moose has excited me as to where we are going with this tech and 3D printers. I’d say definitely check it out and couldn’t recommend it more, especially if what you want to scan is along the same lines as this happy amateur. I keep thinking of more and more practical uses for the Moose and I am sure you will too.
The Moose from 3DMakerpro costs $699 and is available from their website.