Sometimes, explaining what happens on a computer display doesn’t capture the action like moving visuals can. Fortunately, for desktop software developers, budding tech reviewers and others, screencasting programs can step in when words fail.
The software can record every click, window switch or animation, making it simple to record video desktop demonstrations.
See also: Podcasting On A Budget: How To Record Great Audio For Less
Plenty of options cater to Mac OS X and Windows users; for now, I’ll go over some top tips and picks for people with Apple desktops and laptops. (If you have a Windows machine, don’t fret—I’ll cover those choices in a separate post.)
What To Look For In A Screencasting App
Screencasting can involve more than just doing a flat capture of a whole desktop. You may need to zoom in on certain parts or focus on other nuances.
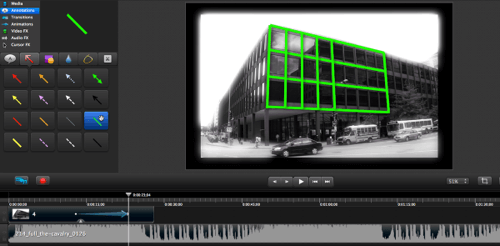
Subtle effects, such as keystroke display and mouse-click effects—which show the characters you type and the options you click on, respectively—can make a huge difference in the quality of your video. Callout effects, like arrows and highlights, can draw attention to other specific elements on the screen.
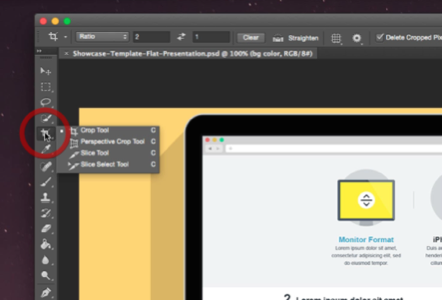
If you’re recording a tutorial, for example, such effects can illustrate the steps clearly, so that viewers can follow your movements.
Most screencasting applications offer these features, so you’ll want to practice and get comfortable with them. Every program handles them a bit differently.
As you assess different apps (see: below), don’t forget to consider their video export options. Videos rendered with a lot of compression, so they come out as smaller files, may work well for streaming. But you’ll have to be a one-shot wonder. In other words, don’t count on editing that footage further. Programs like iMovie, Final Cut Pro, Adobe Premier and others compress the file when they export, which means you will have compressed it twice. To avoid significant loss to video quality in those scenarios, choose screencasting apps that support an uncompressed, or lossless, format.
You’ll want to think about those types of needs and others early on in the process, so it can help you choose the right program. Do you need video-editing capabilities built-in, or will you use an external editor? What format(s) will the video be published in? Do you want the program to upload it to video sharing sites for you? Use the answers to help guide your selection process.
Once you have this list, you’re ready to start searching for screencasting software. I recommend spending a little time with them on test videos. Many paid programs even offer trials or demos. Start small, so you don’t invest a lot of time, only to find out that the exported video has, say, a time limit or a huge watermark.
Good Screencasting Apps for OS X
Ultimately, good screencasting apps get out of your way. There are dozens of screencasting apps out there, many of which offer the same basic features.
Mac OS X (version 10.6 or later) also offers a built-in screencasting tool, but it offers only limited video-export options—none of which are lossless—and has no built-in editing. That means, if you want to edit the clip, you have to use a separate app and you will wind up with lackluster quality, regardless. That’s the primary reason people grab third-party applications.
Below, I’ve listed a few top picks that I’ve used to record video tutorials. Each have pros and cons, but all of them can produce quality screencasts.
ScreenFlow 5
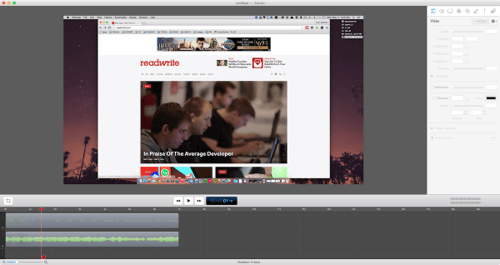
My personal go-to app for screencasting in OS X is ScreenFlow 5 ($99) by Telestream. It doesn’t just record your desktop; it also hooks into your webcam, microphone and system audio, as well as the screen of a connected iPhone, iPad or iPod touch.
ScreenFlow 5’s advanced video editing, audio mastering tools, high-quality recording, and export options make it one of the best equipped all-in-one screencasting solutions for OS X.
The program also comes with a pretty powerful video editor and effects—including pointer zoom, click effect, keystroke display, media management, captions and others.
When you’re done recording, you have a slew of posting options, with presets available for YouTube, Vimeo, Wistia, Google Drive, Dropbox and Facebook. You can also export and save videos to your computer in a range of file types, or even set up batch exports for larger jobs.
iShowU, HD, HD Pro, and Studio
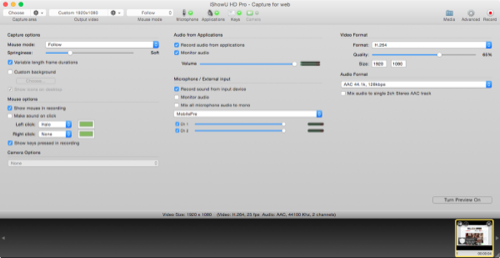
iShowU by shinywhitebox offers a whole family of products for screencasting.
The original iShowU app ($20) offers a robust list of user-configurable settings and presets—including a dedicated one for recording World of Warcraft gameplay. However, deciding on those configurations on the fly, while you’re in the recording stage, can be confusing to new users. Also bear in mind that you have to choose effects, like mouse-click blips and cursor-tracking, before hitting the record button.
For a much more user-friendly interface, consider iShowU HD ($29.95) and HD Pro ($59.95) instead. Though simpler, they also feature live video preview and a plethora of recording options.
Power users looking for a decent built-in video editor could find what they need in the premium version, iShowU Studio ($79). But note that it requires OS X 10.9 (Mavericks) and above.
One caveat: iShowU can’t record system audio on its own. But for a fairly simple fix, you can download Soundflower, a free program lets you pipe any application or system audio to any other program, so you can record it.
Camtasia
Camtasia for Mac ($99) by TechSmith proves just as capable as ScreenFlow, in terms of editing and export options. But it also has a few extra tricks up its sleeve.
The software, which supports both OS X and Windows, also ties into other TechSmith apps that, together, add additional recording options to the mix. TechSmith Fuse, for example, lets you capture video and photos from your mobile device while you’re out and about, and then upload it to Camtasia to add it to your video project.
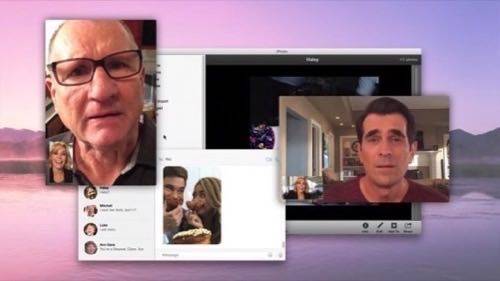
QuickTime
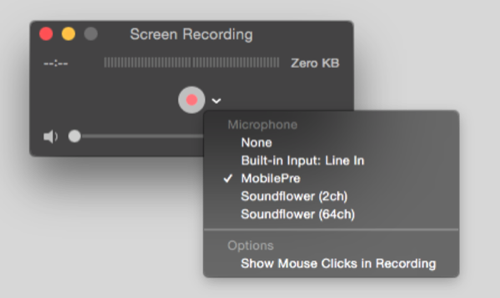
QuickTime is free and comes pre-installed with OS X (10.6 or above). All you have to do is fire it up, go to File > New Screen Recording in the QuickTime menu, select your options and begin recording. To record all or part of your screen, just click and drag the area you wish to capture. You can even set it to record “blips” (or visual cues) for every mouse click.
Apple’s software is simple and easy to use, but there are downsides. First, your video is captured in a compressed file—a lossy H.264 .mov file, to be exact. That won’t necessarily look bad for simple, straightforward projects. But the quality will get worse, if you have edit, and then export that, which compresses it again.
Either way, you can get better quality using one of the paid applications listed above. All of them have free demos available, if you’d like to try one out.
Budget users might be tempted to check out other free offerings, such as Screencast-o-matic. But they usually come with compromises in quality or other limitations that may or may not work, depending on your project. If the penny-pinching winds up costing you in other ways, the resulting proof could be as clear as the screen in front of your face.
Lead photo courtesy of Shutterstock; iShowU screenshot courtesy of shinywhitebox ltd.; Modern Family image courtesy of ABC; Camtasia screenshot courtesy of TechSmith