My Raspberry Pi arrived with the evening mail—by midnight, my husband and I had turned it into a working print server. And neither of us had any background in computer science.
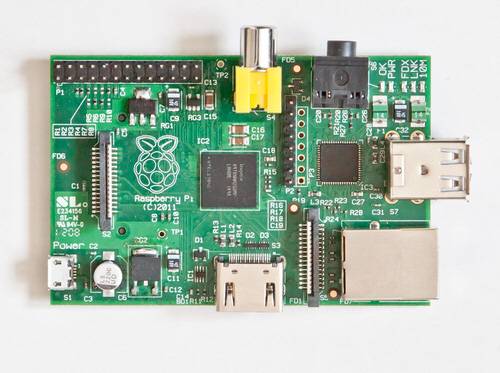
Raspberry Pi is a computer the size of a credit card that’s so simple, anyone can program it. Designed as an introduction to science, technology, engineering, and math for UK grade schoolers, its $35 price tag has made it appealing to hobbyists all over the world.
Despite its diminutive device, Raspberry Pi is powerful enough to process many of the same programs as PCs, from word processors to games. Its small size also makes Raspberry Pi ideal for programming connected home devices—like the aforementioned print server, which has given us the power to make every computer, laptop, and cell phone in our network printer-compatible.
The Story Of Raspberry Pi
Eben Upton first came up with the idea for Raspberry Pi in 2006, when he and his colleagues at the University of Cambridge’s Computer Laboratory were frustrated by the dwindling number of students, and the poor skill levels of those students, entering the program.
While current students entering the program often had Web design experience, programming experience was becoming very rare. Upton’s concern? That the price and sophistication of modern computers had made them overly complicated for kids to experiment with.
In the ’70s and ’80s, kids could use an Amiga or Commodore 64 to boot into a programming environment. In later decades, Upton speculated, parents had more reason to forbid the same kind of experimentation on increasingly advanced family PCs. Plus, as computers became easier to use, programming them became more complicated, and tinkering with their inner workings became far less necessary.
Upton wanted to create a cheap, easily programmable computer that would bring back the experimental spirit of an earlier era of computing, by making a device cheap enough so anyone could tamper with it without fear of expensive mistakes. From 2006 to 2008, the official history goes, Upton and his colleagues worked on the prototype that would eventually become the Raspberry Pi. The Raspberry Pi Foundation was established in May 2009, and the first shipment of Raspberry Pis became available in April 2012.
In an interview with Daily Brink, Upton explained how the device got its name:
There’s a history of fruit-named computer companies! There aren’t many that aren’t taken, and Raspberry is one of those. What we wanted to build was something that could run the Python programming language, and so ‘Pi’ was kind of a pun. So the name stuck and it outlived the justification for the name.
Python is the Pi’s recommended programming language, but Linux is its recommended operating system. Nearly every flavor of OS that works on Raspberry Pi—Raspbian, Pidora and more—is a riff on the Linux kernel.
Right now, there are two versions of the Raspberry Pi for sale—Model A and Model B, though neither is newer than the other. Model A, which is $25, lacks Ethernet capability, has a single USB connecter, and 256MB of memory. Model B, which is $35, has double the memory, Ethernet, and a dual USB connector. The B is not an improvement on A, and in fact was available first; the A is just a lighter, cheaper version. The Foundation hasn’t ruled out an eventual, more powerful Model C, but probably not for at least “two to three years.”
Getting Started With Raspberry Pi
Raspberry Pi owes its low price tag to advances in integrated chips. Instead of having a CPU, a GPU, a USB controller, and memory each on their own individual chips, Raspberry Pi uses a system-on-a-chip with all those components on a single chip.
Without a lot of chips to take up space, the Pi itself can consist of a printed circuit board which boots up from an SD memory card. So it’s not just cheap, it’s simple, too.
Still, the $35 price tag is a bit misleading. You can’t just buy a Raspberry Pi and expect it to work right out of the box. Here are the accessories you’ll need to get up and running:
- A power supply. Raspberry Pi doesn’t come with one, so you’ll need a micro USB compatible cable in order to plug it into the wall.
- A case. There’s no official one yet, so I put mine in this pink one from Adafruit. Unfortunately, despite what you may have heard, it does not fit in an Altoids tin.
- An HDMI cable or RCA video lead. You can’t use your Pi without a visual display. You can either plug it into a computer monitor with HDMI input using an HDMI cable, or you can plug it into an analogue TV with a standard RCA composite video lead.
- A USB mouse and keyboard. Or else how will you interact with the Pi? Any wired or wireless mouse and keyboard should do; I’m using wireless Logitech products for both.
- An SD memory card. You’ll need one to boot up the Pi. The Raspberry Pi foundation recommends at least 4 gigs to start, but as many as 32 if you want.
- A primary computer. I didn’t get that you can’t just get the Pi running without already owning another computer, Mac or PC. Hopefully you already have one of these, or this project just got a lot more expensive.
- An SD memory card reader. The Raspberry Pi doesn’t need this, but your primary computer does so you can transfer installations from it to the Pi. A lot of computers come with a built-in card reader, but if yours doesn’t, you might want to invest in one.
Now, let’s fast-forward to the day when your Raspberry Pi and all its accessories arrive in the mail. Here’s what to do, and when to do it.
- Put your Raspberry Pi in its case. Unless it’s very customized, it should continue to have holes in it for all of the Pi’s inputs.
- Put the Pi aside and go to your primary computer. Insert your SD card and format it according to the Foundation’s directions. This will install a recovery program on it so you can save your card even if you break it with your tinkering.
- Download NOOBS on your primary computer. Short for New Out Of Box Software, it’s the Raspberry Pi Foundation’s fittingly named distro for first-time Pi users. A distro is a package installation of Linux and its associated software.
- Load your NOOBS download onto the newly formatted SD card.
- Time to get started with the Raspberry Pi. Slide the SD card into the underside of the Raspberry Pi, and make sure it’s oriented correctly; it’d be bad to break your Pi before you turn it on!
- Connect it to the power supply, monitor, keyboard, and mouse.
- The Raspberry Pi will boot up and take you the NOOBS screen. If it doesn’t, check your power supply and HDMI cables and make sure they’re secure.
- Select an OS to install. If you select the default Raspbian, recommended for beginners, Adafruit has a great tutorial on the process. This install will take a while (20 minutes for me) so this is a good time to go do something else.
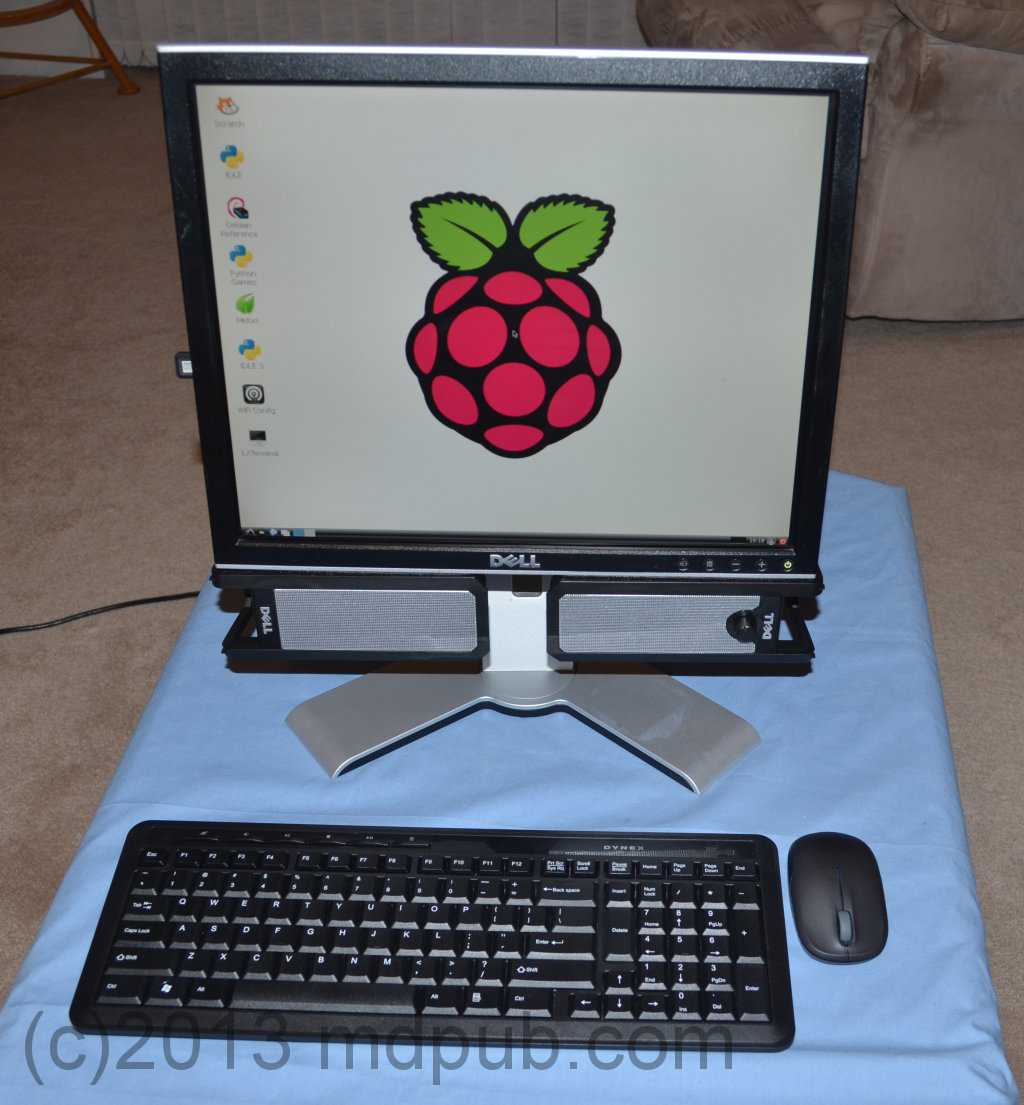
- Once the file copies, you’ll get a notice that says, “Image applied successfully.” Press return, and the Pi will reboot. Now it will boot into the operating system’s graphical user interface, which looks a lot like Windows 98.

Now you’re ready to use your Raspberry Pi however you like. You can run programs on it as if it were any other computer, or you can choose to work from the command line. Since it’s a general purpose Linux machine, what you do from here is up to you.
A word of caution, however, from somebody who already made this mistake: don’t delete the NOOBS copy you downloaded on your primary computer. My husband and I wiped the Pi twice (and installed operating systems three times) in one night, so I know it saves time to have everything ready on your computer in case you want to start fresh for any reason.
Pi Project Tutorials For Beginners
With 512 MB on the Model B, Raspberry Pi isn’t the strongest computer in the world, but it’s still powerful enough for any project a beginner can think up.
See also: 12 Ways To Make The Most Of Raspberry Pi
Here are ten awesome-sounding, relatively simple tutorials for beginners:
This is the tutorial we used, so I can vouch for its ease of use. It makes use of CUPS (Common Unix Printing System) and basically all you have to do is install it on your SD card and then teach Raspberry Pi the address of your printer.
This seems to be one of the most popular uses of a Raspberry Pi. Since it is capable of running XMBC, a program that organizes all of your movies, TV, music, and more into one easy-to-use cloud-based corral, a Pi makes a perfect hub for streaming your media over your network.
Sure, you could sit around playing Minecraft on your Pi, but you could also fulfill your secret dream of becoming a video game developer. Programmer Andy Balaam made a tutorial on the topic so thorough, it takes three hours to watch all of it.
Brendan Nee was sick of arriving late for buses, so he programmed his Pi to display real-time arrival predictions for transit around his house. His step-by-step instructions are great for San Franciscans, but if you live somewhere else you’ll need to configure for another transit system.
You’ve already got the monitor, keyboard, and mouse for your Pi. Why not go the rest of the way and turn it into a self-contained computer? Mike Davis’s tutorial shows you how to attach the Pi to the back of the monitor to create a compact desktop PC.
Instead of buying an expensive professional camera rig to take time lapse shots, Rick Adam wrote just 25 lines of Python code to build his own. The results are gorgeous time lapse movies that show a few hours in a couple of seconds.
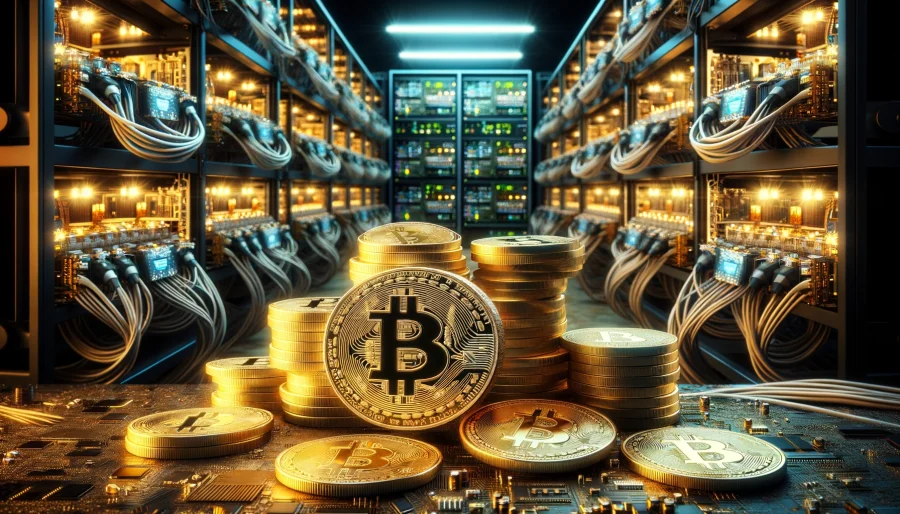
Instead of buying a $4,000 plus Bitcoin miner, you can set up your Raspberry Pi to do it for just $83. However, given the amount of energy required to mine Bitcoins, we highly doubt you’ll get rich off of a Raspberry Pi’s diminutive mining power.
Save electricity and run your Pi off the power of the sun with this tutorial. The creator says that this method will usually give you five hours of battery life on your Pi.
Design your first website, and get it online, too, by turning your Raspberry Pi into your own home Web server. So long as you don’t expect your site to get loads of traffic, you can have the Pi host it instead of a pricey online host.
With 300 lines of Python code, this is the most complicated tutorial on the list, but perhaps with the most payoff. Set up your Pi to load a playlist of streaming songs as well as display what’s playing with an LED display.
Resources On The Web
Given the extremely complex nature of this tiny computer, no Raspberry Pi tutorial is fully exhaustive. These are some great resources for learning more about your Pi:
- The Raspberry Pi Foundation — The official source for Pi news and FAQs.
- Adafruit — Lots of Raspberry Pi accessories and tutorials here.
- Raspberry Pi Tutorials for Complete Beginners — Henry Budden is a 13-year-old in the UK whose Pi tutorials are so helpful, the Foundation frequently features them.
- Raspberry Pi IV Beginners — If you prefer your tutorials in video form, this UK based group of developers has got you covered.
- Element 14 — You can buy a Raspberry Pi Model A or B here, from an official corporate member of the Raspberry Pi Foundation.
Do you own a Raspberry Pi? What would you advise new users to do? We’d love to see your input in the comments.
Photo credits: Raspberry Pi Foundation, Wikimedia Commons, and Clive Darra.